
How to create an indoor map, step by step
How to create an indoor map from PDF or DWG floor plans: align them to the site, stack floors, let AI draft, name rooms, add doors and lifts, test routes.
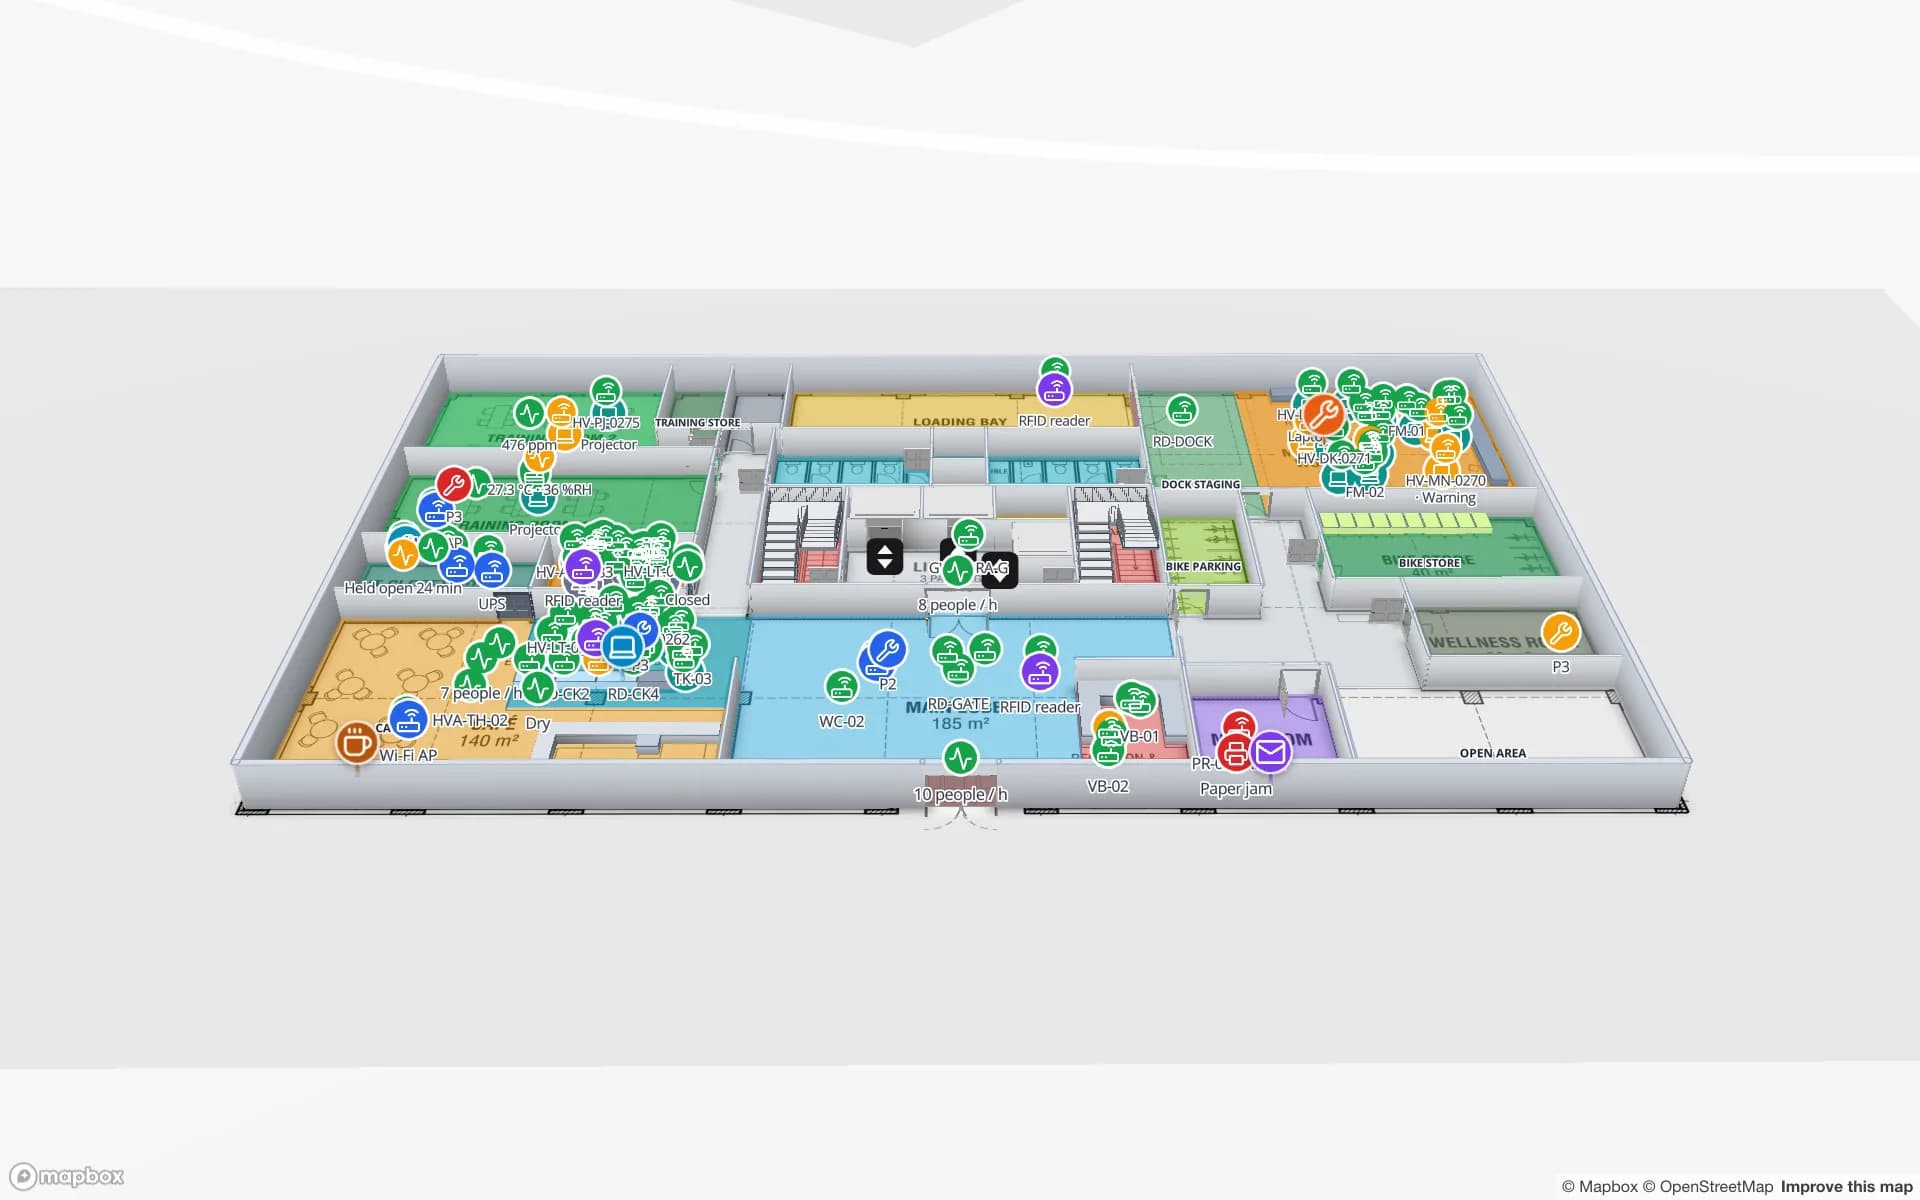
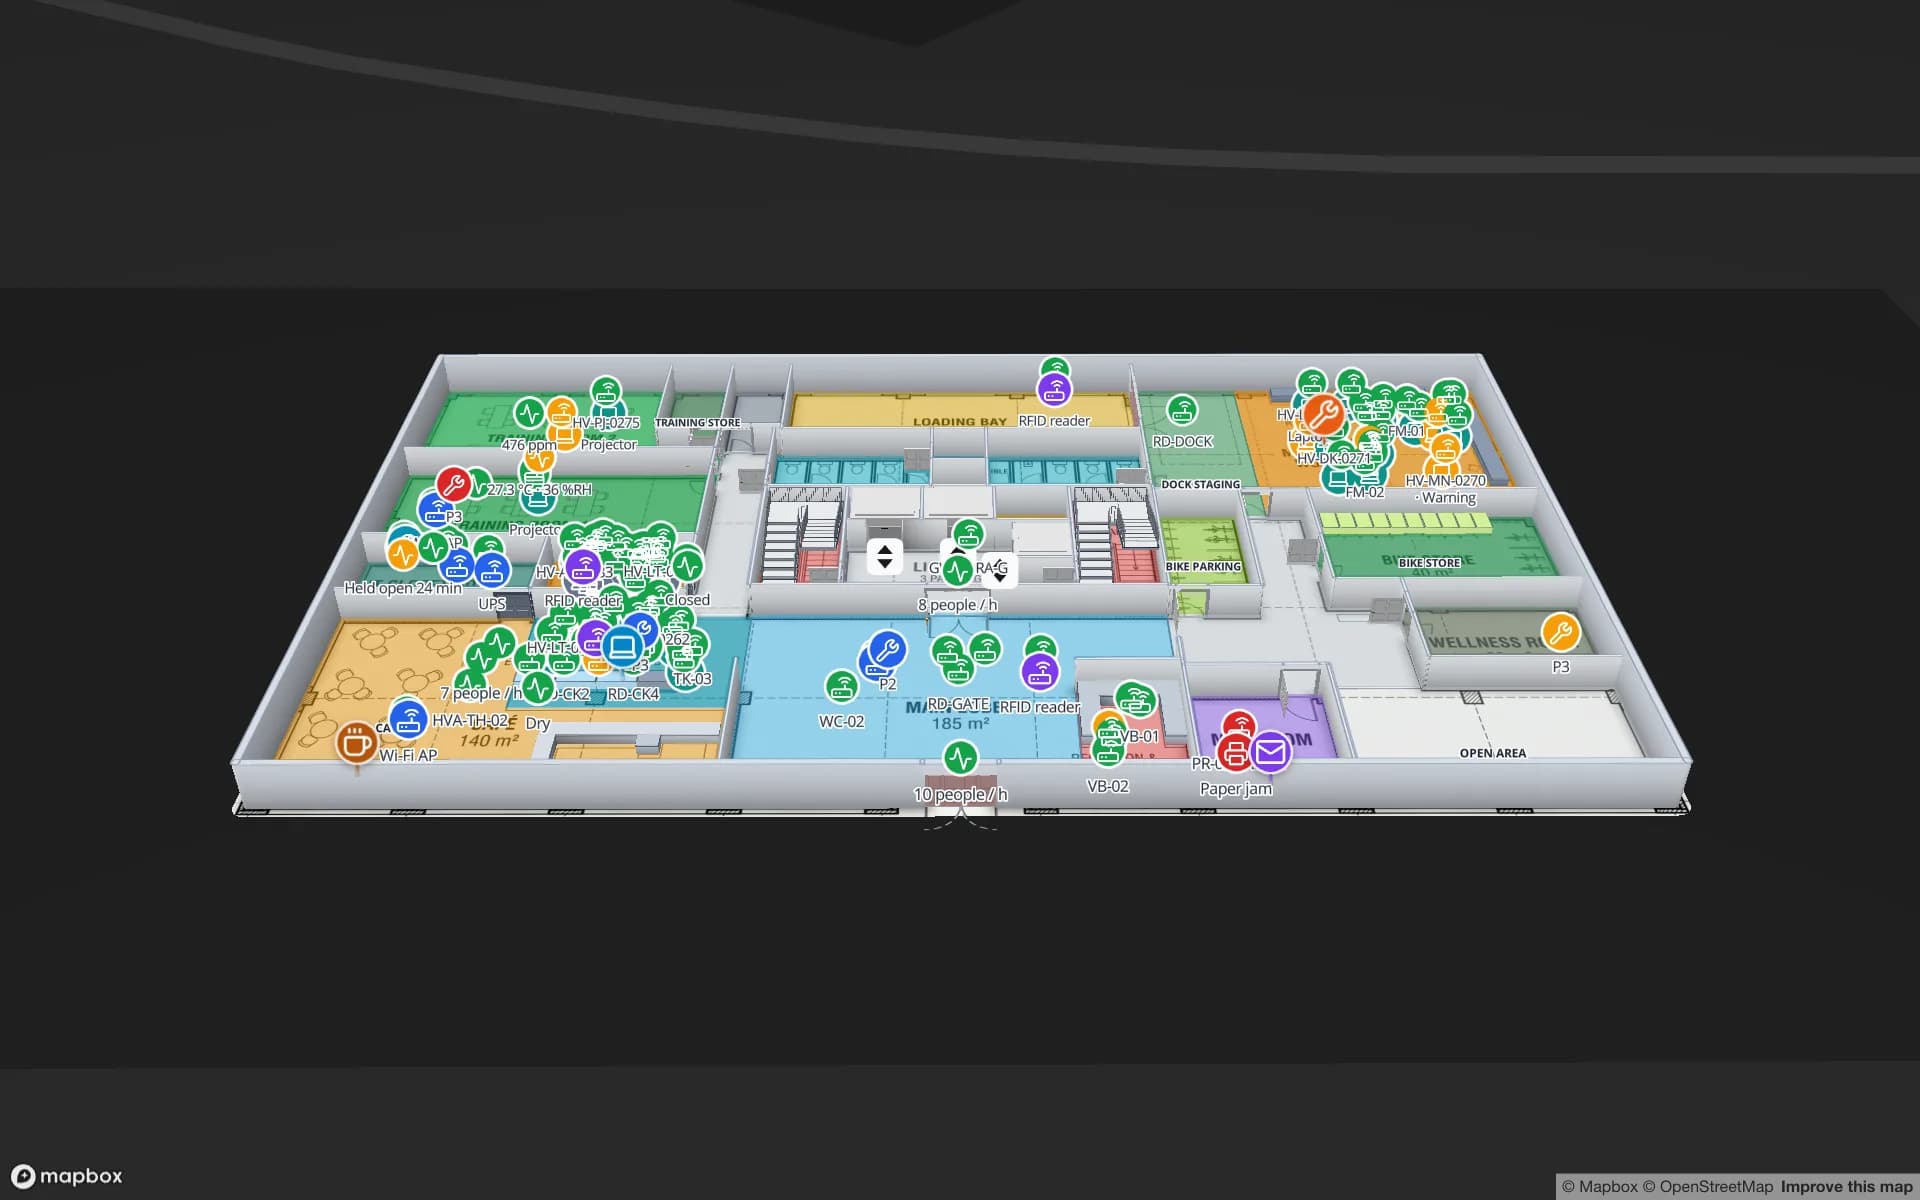
How to create an indoor map: the nine steps
This guide shows how to create an indoor map from the PDF or DWG floor plans a building already has. Spatial Map is a browser-based indoor mapping platform that does this without plugins or a scanner: you place each floor plan on a real map, let AI draft the walls and rooms, correct and name what it drew, and share a live 3D map. The steps apply to any tool, though; where they are specific to Spatial Map, we say so.
- 1Gather the plans
One current plan per floor, plus a walk of the building.
- 2Align each plan to the site
True scale, true position, true north.
- 3Set up the floors
Elevation, names and order.
- 4Let AI draft the floor
Walls, doors, racks, areas, stairs and lifts, for you to review.
- 5Trace what is missing and name the rooms
Names become the keys your data uses.
Then four more: connect the floors with doors, stairs and lifts; test routes; check it on a phone; and share it. A single floor of a mid-size building is a reasonable first session. Start with the floor you know best.
1. Gather the floor plans
Ask facilities, the landlord or the architect for the latest drawing of every floor. Plans are rarely as current as people think, so check the revision date and plan a quick walk-through.
| Source | What to check |
|---|---|
| AutoCAD DWG | The release it was saved in (Spatial Map reads R2004 to R2018), the drawing units, and whether external references are bound into the file |
| PDF drawing set | Which sheet is the general arrangement plan for each level, and the scale printed in the title block |
| Scan or photo of a paper plan | That it is flat, square and legible, and that you have one real measurement to scale it by |
| Evacuation or fire plan | Fine as a starting point when nothing else exists; check the dimensions on site |
2. Align each plan to the site
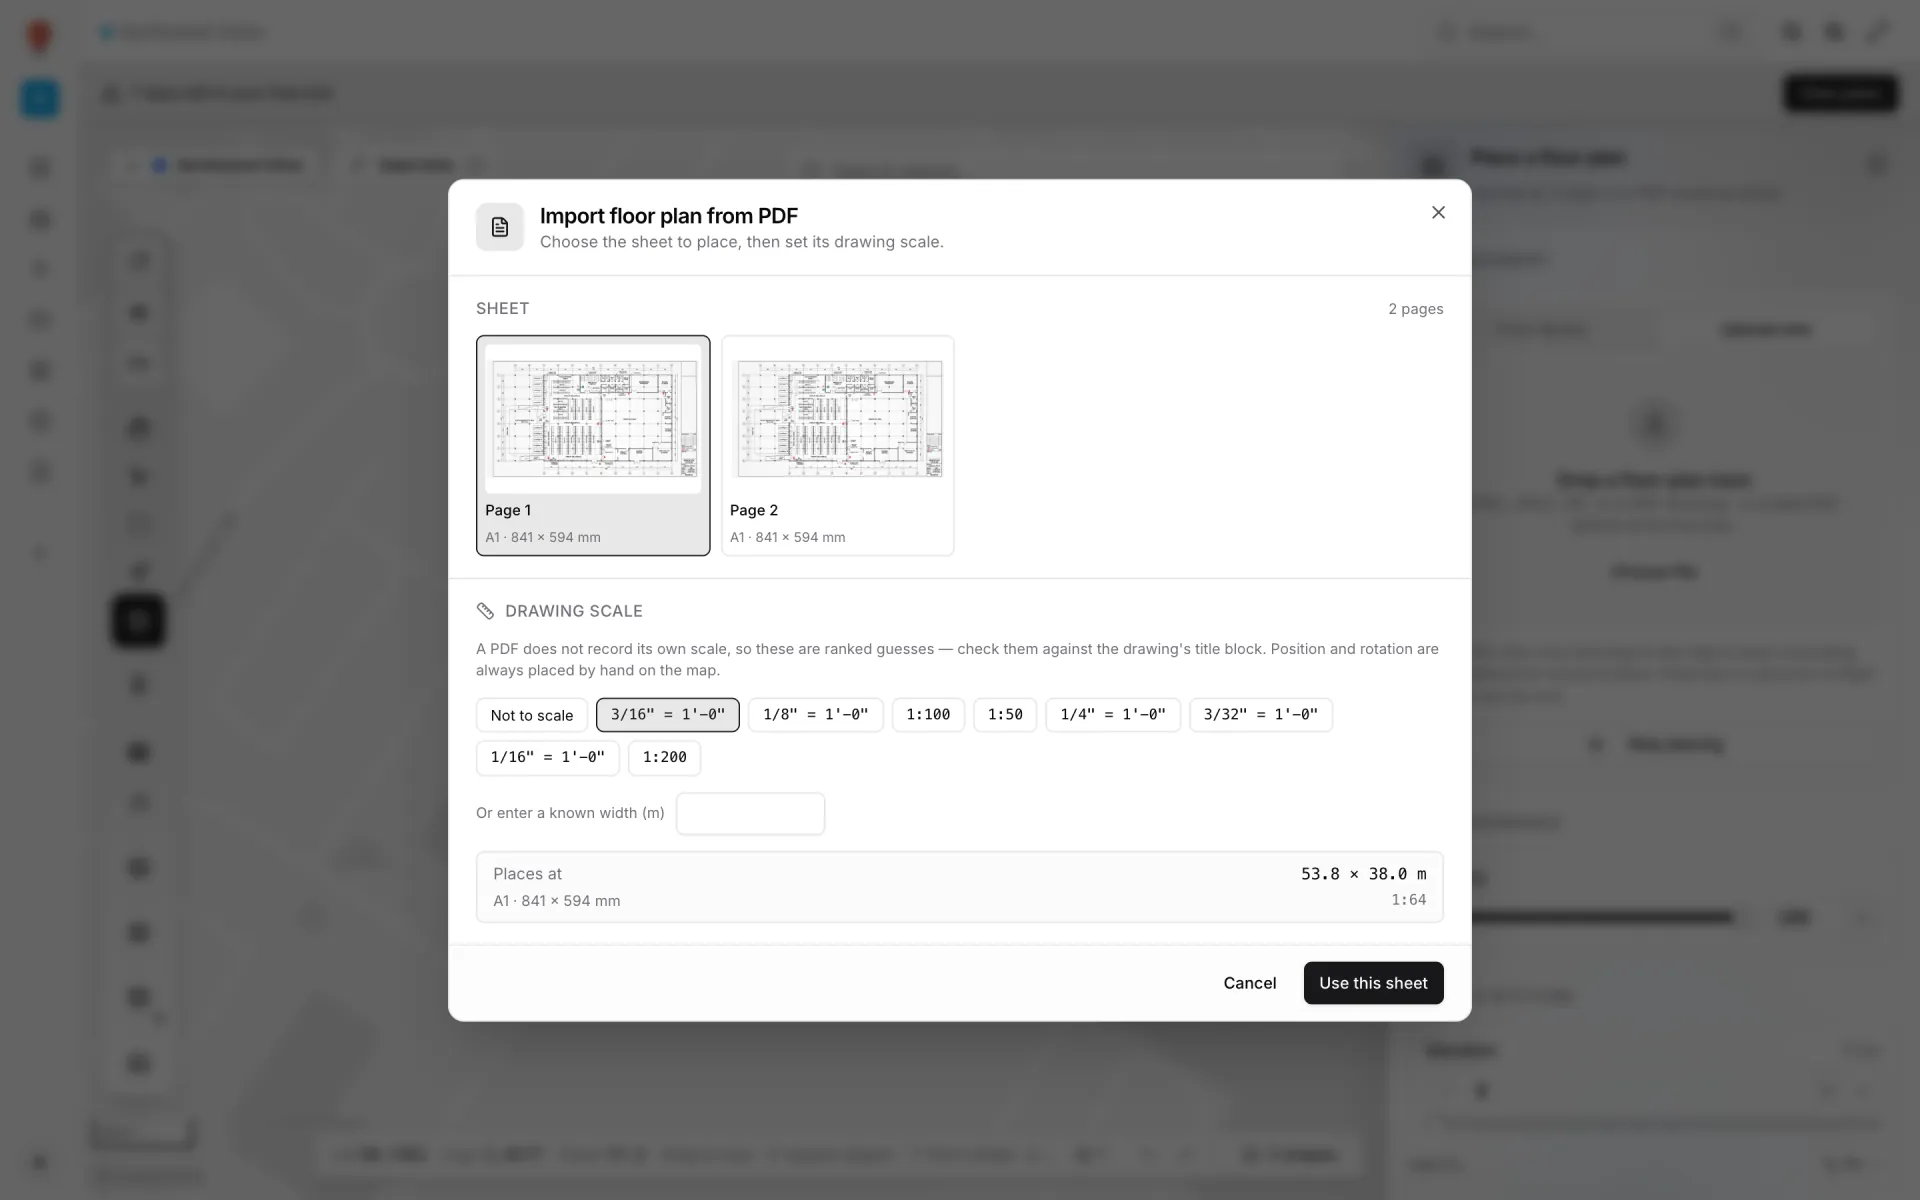
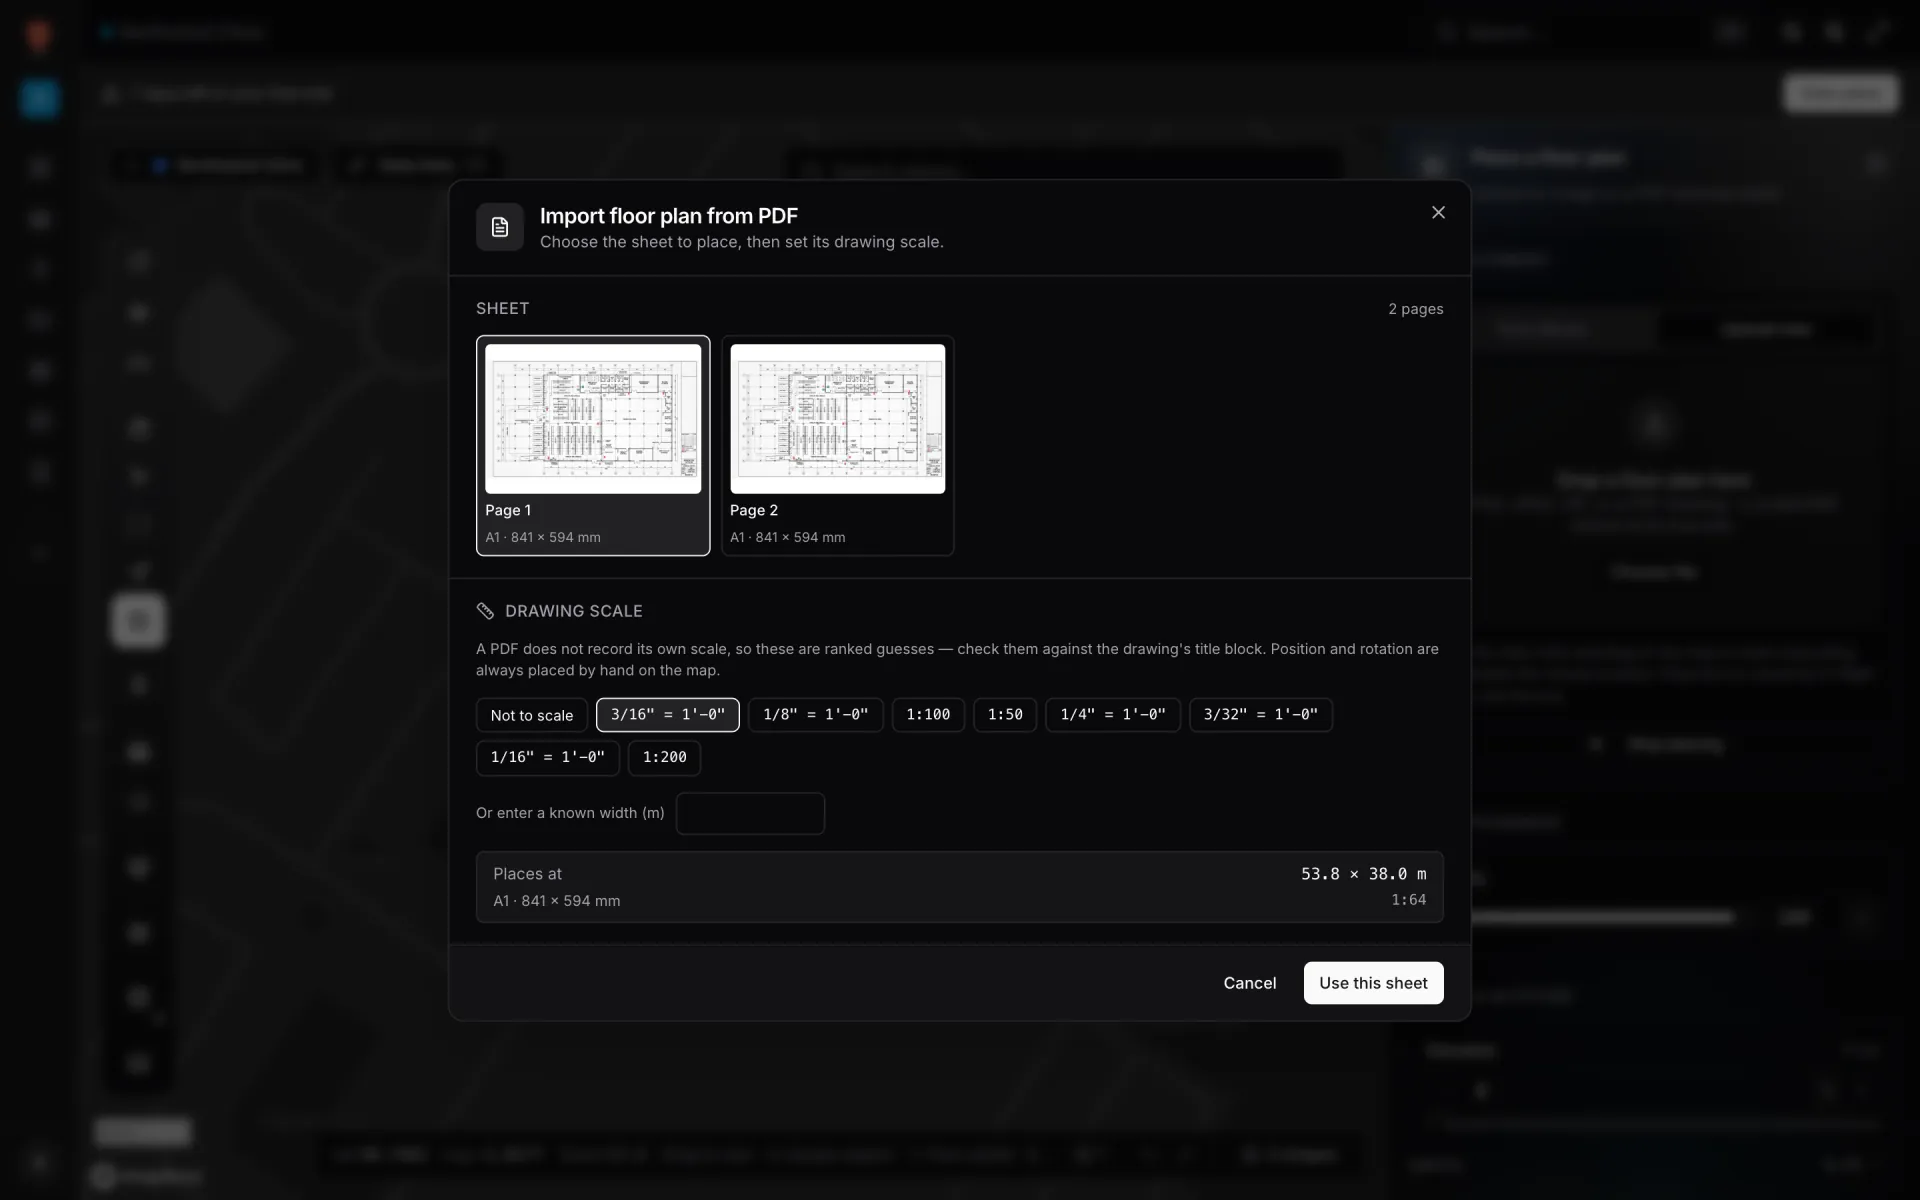
Create a facility, then fly the map to the building with Search places…. Open the floor plan tool (I) and upload the file. A PDF opens a dialog where you choose the sheet and confirm its drawing scale, or type the real width the sheet covers; a DWG asks you to confirm its units and pick the layers. Both then have a fixed real-world size, so you only drag to position them.
Lower the plan’s Opacity so the street map shows through, rotate it with the Rotation slider or the [ and ] keys, and nudge it with the arrow keys until the outer walls sit on the building. A plain image has no scale of its own: type its real Width in the panel. The getting started guide walks through the first session, and floor plan to indoor map covers each file type.
3. Set up the floors
Add every level the same way, at the same spot. Give each its height under 3D & Altitude → Elevation (ground floor at 0, the next at its storey height), rename it to the name people use (“Level 1”, “Mezzanine”), and drag the rows in the Floor plans list into order. The top row is the default floor in preview and shared views.
Toggle the upper plan’s opacity to check that the floors line up: stair cores and lift shafts should sit exactly over each other. If they don’t, fix the alignment now; every shape drawn later inherits it.
4. Let AI draft the floor
Tracing a floor by hand is the slowest step, so let a machine do the first pass. In Spatial Map, AI Map (key A) reads the aligned floor plan and drafts walls, doors, racks, labels, areas, stairs, lifts and escalators — for the whole floor or for a rectangle you mark with Part of the floor. The drafts appear on the map in review: Add all to map, or add and discard them kind by kind. Drafts that match a shape already on the floor are skipped, so re-running an area is safe.
5. Trace what is missing and name the rooms
Fill the gaps with the drawing tools: the Area tool for rooms and zones, the Aisle tool for walls (give it a wall height and it becomes a 3D wall), Magic walls to wrap walls around areas you have already drawn, and the Rack tool for shelving with rows, columns and levels.
Then name things. Names are not decoration: they are what search, directions and data links match against. Pick one convention and stick to it.
| Thing | A naming habit that works |
|---|---|
| Rooms | The number on the door plus a short name: “2.14 Meeting” |
| Zones and areas | What the operation calls them: “Goods-in”, “Chilled A” |
| Racks and bins | The location code your WMS uses: “A-12-03” |
| Floors | The name on the lift buttons |
6. Add doors, stairs, lifts and escalators
Routes need to know how people get through walls and between floors. Place doors with the Door tool (D): they snap to a wall and cut an opening that routes pass through. Add stairs, lifts and escalators on each floor they serve, so a route can change level through them. A lift can be marked Out of service, which takes it out of every route until you switch it back.
7. Test routes from the entrance to every room
Testing routes is the fastest way to find mapping mistakes. Press N for Route from A to B, click the main entrance, then click a room. A route that comes back means walls and doors work; “No path found” almost always means a missing door, or a door that is not sitting on its wall. For a room on another floor, switch floors before the second click and check that the route takes the stairs or a lift.
- Check Step-free for at least one destination per floor: between floors it should take a lift, never the stairs.
- Try Other route where there are two stair cores, to see that both are connected.
- Read the turn-by-turn steps: “left at the door” should match what you see when you walk it.
8. Check it on a phone, then 9. share it
Open the facility in preview on a phone and walk a floor with it. Fix labels that overlap, floors that are hard to tell apart, and anything a newcomer cannot find. Then create a read-only share link — it can expire — or invite colleagues into the workspace with a role. People without an account can open a share link; editing needs a membership.
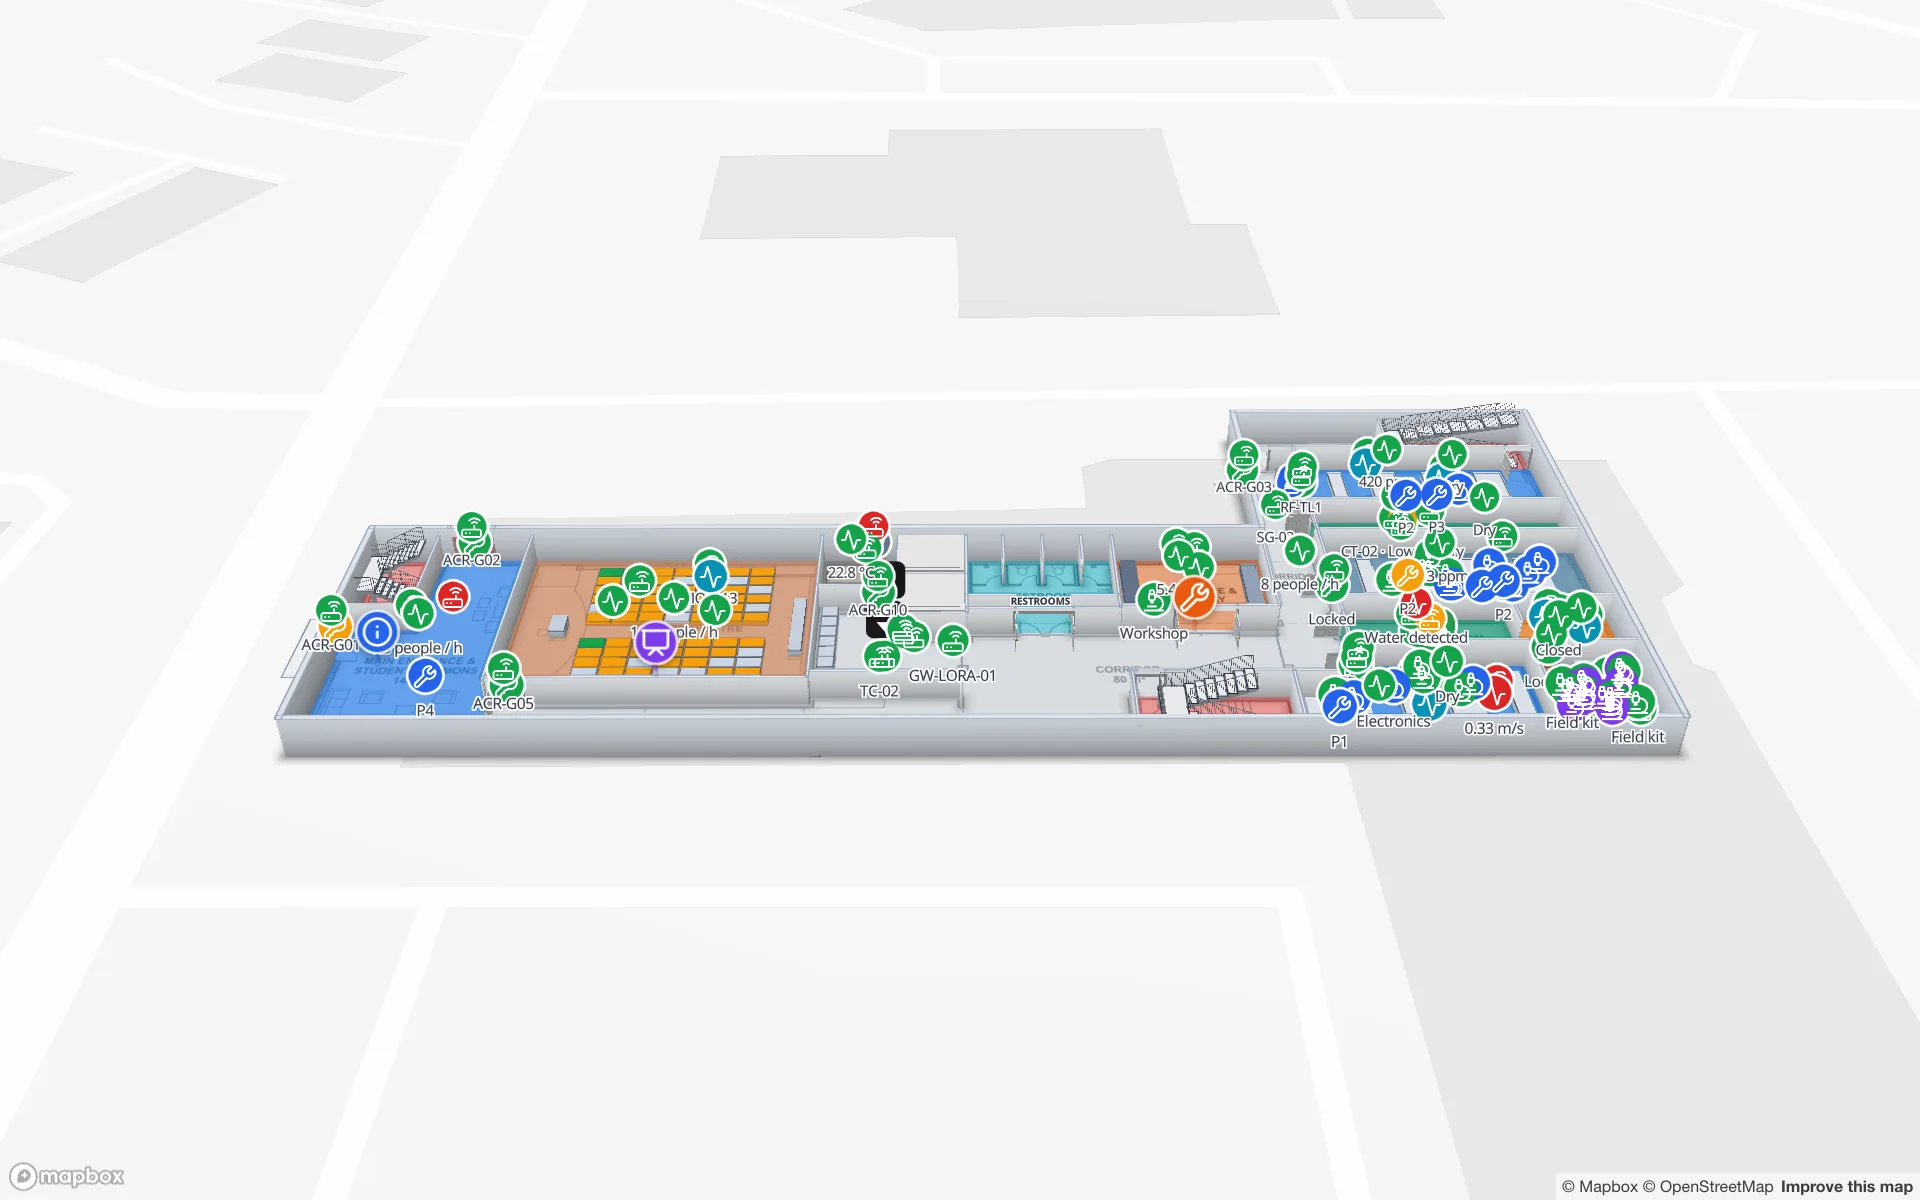
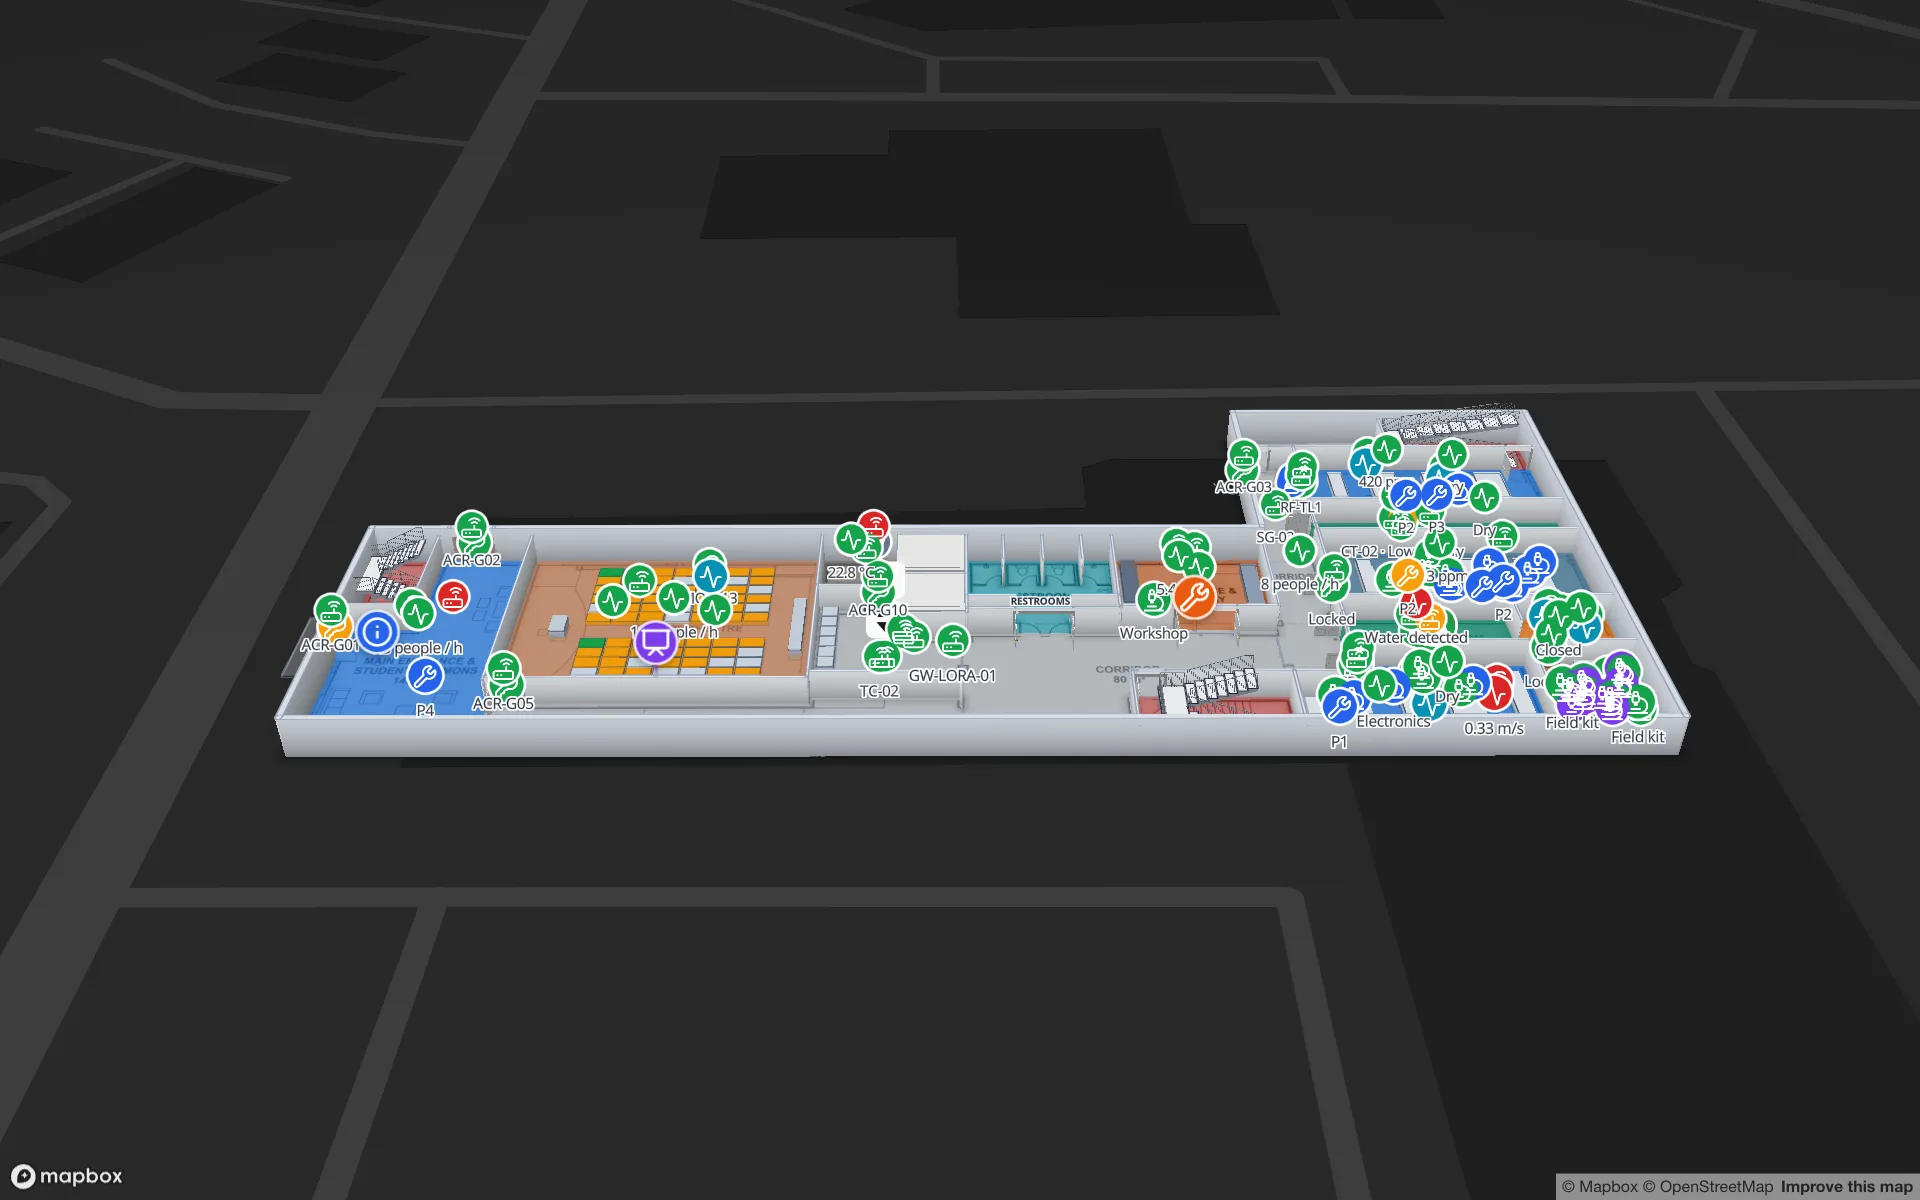
After the map: put data on it
The map is the structure. What makes it worth keeping up to date is what sits on it: stock by rack from a WMS, sensor readings by room, tag positions from an RTLS, alerts when something is out of range. Connect one feed that matters through a REST source, a file upload or a table with a write API, and link it to the shapes by name.
Spatial Map’s 7-day free trial covers up to 5 facilities with no card; Pro is $60 a month for up to 4 facilities. For the concepts behind each step, read what is indoor mapping.
Try the platform your data belongs on.
Spatial Map turns spreadsheets, sensor streams, and CAD drawings into one live 3D facility view — nothing to install, seven-day free trial.
Keep reading
- TutorialBLE gateway for asset tracking: placement, backhaul, MQTT and the mapGateways are where BLE tracking succeeds or fails. How to place them, connect them, turn their MQTT or HTTP messages into zones, and write the result to a live floor plan.
- TutorialHow to convert a PDF floor plan to a 3D map of a commercial buildingA PDF knows its paper size but not its scale. How to get the scale right, clean the sheet, align it to the site and turn walls, racks and floors into a true-scale 3D building.
- TutorialHow to digitize a paper floor plan: scan, scale, traceFrom an old blueprint or a photo of an evacuation plan to a usable digital plan: capture, perspective correction, scale, the CAD question, and the step to an indoor map.