
How to trace a floor plan into an indoor map, by hand or with AI
How to trace a floor plan into an indoor map: scale and align, trace walls, doors, rooms and stairs in order, name things as keys, and review an AI draft.
What tracing a floor plan means
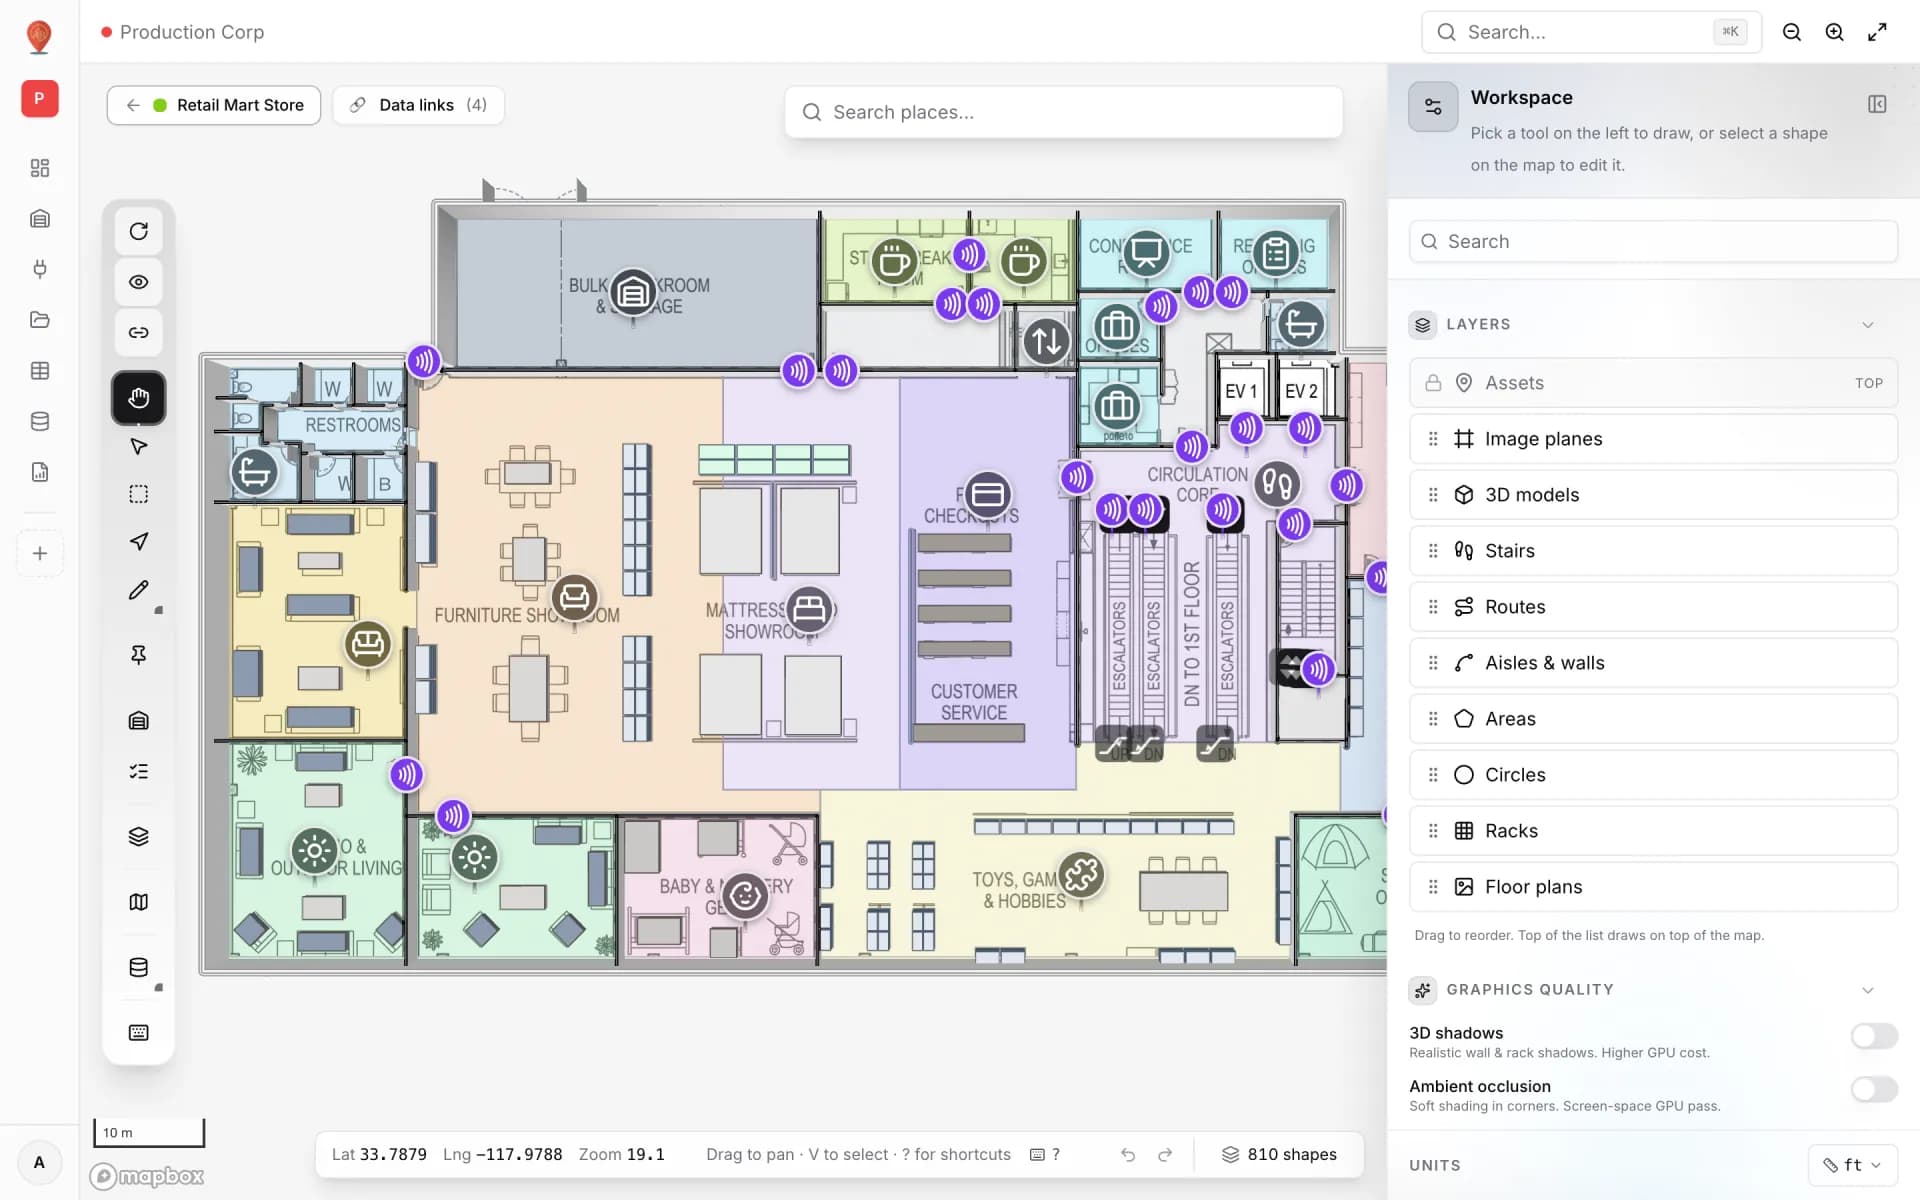
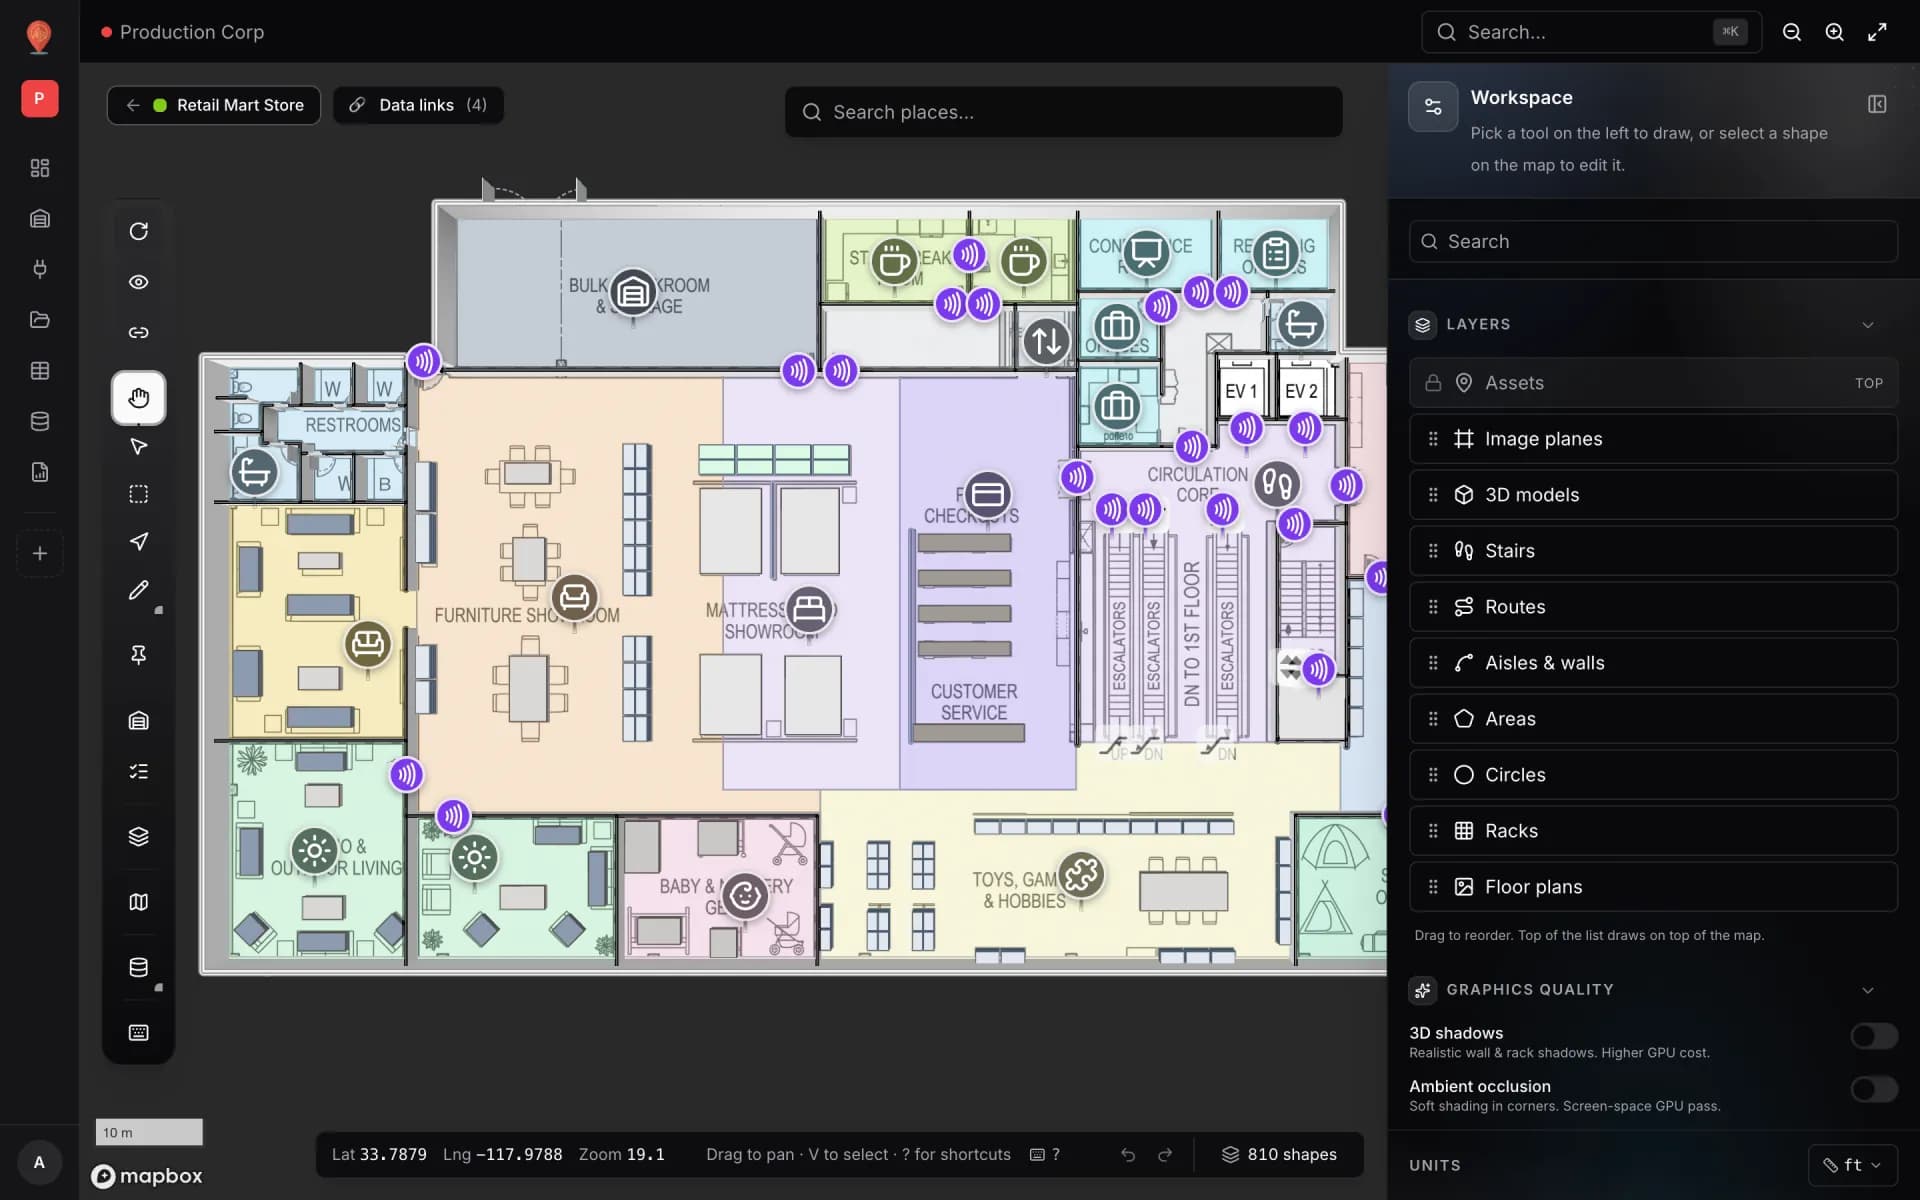
Spatial Map is an indoor map editor in which you trace a floor plan into walls, doors, rooms, racks, stairs and lifts — by hand, or by letting AI Map draft them for you to review. This guide covers how to trace a floor plan well either way. Tracing means drawing objects over a placed drawing: the PDF, DWG or image stays underneath as a reference, and what you draw on top becomes the map that routing, heatmaps and live data use.
A picture of a floor plan cannot tell a wall from a dimension line. A traced map can: walls block, doors connect, rooms have names, stairs join floors. That is why the order you trace in, and the names you give things, matter more than drawing speed.
Before you trace: the right plan, at the right scale
- 1Get the latest revision, one sheet per level
Ask facilities for the current drawings, not the ones from the original build. A vector PDF exported from CAD is the cleanest input; scans work if they are sharp and straight. In Spatial Map a DWG becomes a picture of the drawing, which you trace like any other image.
- 2Place it at true scale
Set the drawing scale (for example 1:100) or the real width and height. Check it against two dimensions you know — a corridor width, a column spacing.
- 3Pin it to the building
Find the address on the map and rotate the plan until its outline sits on the building footprint. Real-world coordinates are what let positions from an RTLS land in the right room.
- 4Stack the floors before you trace them
Place every level’s plan and line them up on things that do not move between floors: stair cores, lift shafts, structural columns.


What to trace first, and why
| Order | Element | Why it matters | Spatial Map tool (key) |
|---|---|---|---|
| 1 | Outer and inner walls | Walls block routes and stop heatmaps; they give the 3D view its shape | Aisle (L) with a wall height; or Magic walls (W) around areas |
| 2 | Doors and openings | Doors are how routes get from room to room; closed doors also stop heat | Door (D) |
| 3 | Rooms and areas | The spaces data is matched to: cold rooms, zones, offices, halls | Area (P) |
| 4 | Stairs, lifts, escalators | They join floors, so routes can change level — trace them on every floor they serve | Stairs & lifts (S) |
| 5 | Racks and fixed equipment | Stock and assets sit in rack cells; racks also block walking routes | Rack (R) |
| 6 | Labels | What people read on the map | Text label (T) |
Two habits save rework. Draw the walls before the doors: in Spatial Map a door snaps to the wall it lands on and cuts its own opening, which is also what lets a route pass through. And trace a stair or lift with the same footprint on each floor it connects, so the two ends meet. If you sketch rooms first and want walls around them, Magic walls builds a wall around every area you pick — adjacent rooms each get their own wall, so draw shared party walls by hand when you need a single clean line.
Naming: the step people skip
Every name you give is a key that data will be matched on. A probe reporting “CR-02” lands on the room called CR-02, not on “Cold room 2”. Decide the convention before you trace, and use the codes your WMS, CMDB, booking system or sensor platform already use.
| Object | Example | Rule of thumb |
|---|---|---|
| Room or area | L1-104, CR-02, DOCK-STAGING-3 | Floor prefix, then the code on the door sign or in your systems |
| Rack | A-01 … A-24 | Exactly as the WMS writes it, including leading zeros |
| Door | L1-D07 | Number doors that carry readers or sensors |
| Stair or lift | STAIR-N, LIFT-2 | The same name on every floor it serves |
Hand-tracing or an AI draft?
| By hand | AI draft, then review | |
|---|---|---|
| Best for | Small floors, unusual buildings, poor scans | Large, regular floors: offices, warehouses, malls |
| Speed | Steady; repetitive on big floors | Fast first pass; the review takes the time |
| Control | Complete | You choose what to keep, kind by kind |
| Typical fixes | Typos and missed doors | Gaps in walls, furniture read as walls, misread room names |
In Spatial Map, AI Map (key A) works on an uploaded, aligned floor plan. It drafts walls, doors, racks, labels, areas, stairs, lifts and escalators for the whole floor or for a rectangle you drag (Part of the floor). Drafts appear on the map for review: you add all of them, or add or discard each kind, and drafts that match a shape already on the floor are skipped. Once added, they are ordinary shapes you edit like anything you drew. It is available on paid plans and the trial, with a monthly limit. How the recognition works is covered on the AI floor plan recognition page.
Reviewing an AI draft: a checklist
- Walls: closed where they should be, open at every door; no desks, shelving or hatching drawn as walls.
- Doors: set into a wall, on the right side, with nothing missing on the main routes and fire exits.
- Rooms: one area per room, names spelled as on your door signs and systems — fix misread text now.
- Stairs and lifts: present on every floor they serve, lined up with each other.
- Racks: the right count and orientation; the rack codes match the WMS.
- Scale: measure one long wall against the drawing.
If one part of the floor came out badly — a dense plant room, say — discard that kind and re-run on just that area with Part of the floor, or trace it by hand.
Finish and test
- 1Look at it in 3D
Tilt the map: missing walls and floating stairs are obvious from an angle.
- 2Test a route across floors
Ask for directions from a ground-floor entrance to an upper-floor room. If the route goes through a wall or never changes floor, a door or a stair is missing — see indoor wayfinding.
- 3Link one data source
Match one table to the rooms or racks by name. Rows that land nowhere point to naming gaps.
- 4Share it
Send a read-only link to the people who know the building best and ask what is wrong.
For the import side — PDF, DWG and images, scale and alignment — read floor plan to indoor map. You can try all of this on a 7-day free trial with up to five facilities and no card; Pro is $60 a month for up to four.
Try the platform your data belongs on.
Spatial Map turns spreadsheets, sensor streams, and CAD drawings into one live 3D facility view — nothing to install, seven-day free trial.
Keep reading
- TutorialBLE gateway for asset tracking: placement, backhaul, MQTT and the mapGateways are where BLE tracking succeeds or fails. How to place them, connect them, turn their MQTT or HTTP messages into zones, and write the result to a live floor plan.
- TutorialHow to convert a PDF floor plan to a 3D map of a commercial buildingA PDF knows its paper size but not its scale. How to get the scale right, clean the sheet, align it to the site and turn walls, racks and floors into a true-scale 3D building.
- TutorialHow to digitize a paper floor plan: scan, scale, traceFrom an old blueprint or a photo of an evacuation plan to a usable digital plan: capture, perspective correction, scale, the CAD question, and the step to an indoor map.